
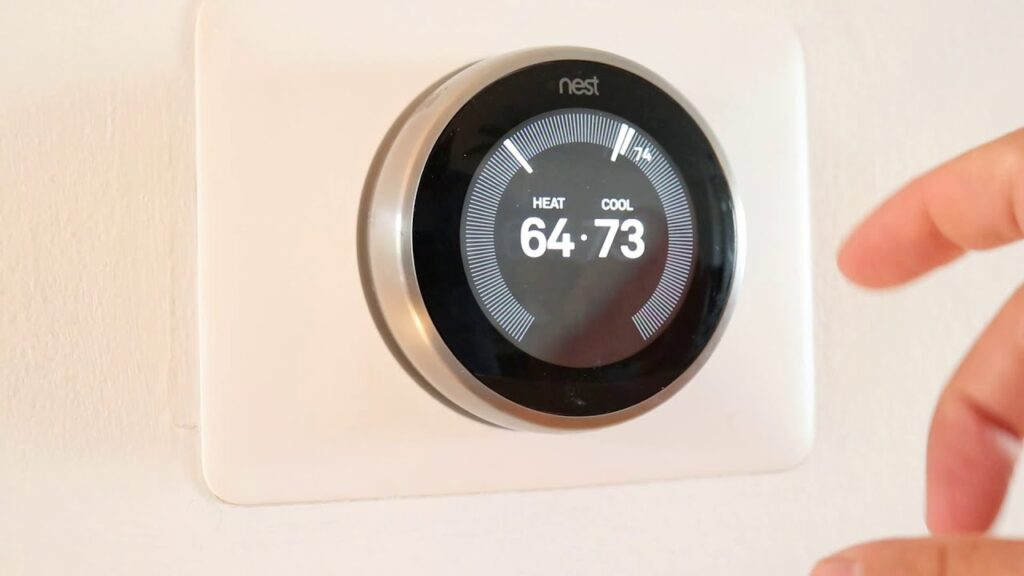
Installing a Nest thermostat is one of the most effective ways to upgrade your home’s comfort, convenience, and energy efficiency. Unlike traditional thermostats, Nest devices use intelligent technology to learn your temperature preferences, create automated schedules, and allow remote control from your smartphone.
Whether you’re replacing an outdated thermostat or installing a smart thermostat for the first time, understanding the installation process is essential. A properly installed Nest thermostat can help improve HVAC performance, reduce energy consumption, and provide better temperature control throughout the year.
In this complete Nest thermostat installation guide, you’ll learn how the installation process works, what tools are required, common mistakes to avoid, and when hiring a professional installer may be the best option.
What Is Nest Thermostat Installation?
Nest thermostat installation is the process of connecting a Google Nest thermostat to your home’s heating and cooling system. The thermostat acts as the control center for your HVAC equipment, helping regulate indoor temperatures efficiently.
The installation process generally includes:
- Removing the existing thermostat
- Checking HVAC compatibility
- Identifying thermostat wires
- Installing the Nest mounting plate
- Connecting wiring terminals
- Configuring Wi-Fi settings
- Connecting the thermostat to the Google Home app
- Testing heating and cooling functions
- Optimizing temperature settings
Because every HVAC system is different, installation requirements can vary depending on the equipment being used.
Why Nest Thermostat Installation Matters
A thermostat is responsible for controlling your home’s comfort system. If installed incorrectly, it can affect heating, cooling, airflow, and energy efficiency.
Proper Nest thermostat installation helps ensure:
Accurate Temperature Control
Correct installation allows the thermostat to read room temperatures accurately and respond appropriately.
HVAC System Protection
Incorrect wiring may place unnecessary stress on heating and cooling equipment, potentially leading to expensive repairs.
Smart Home Functionality
Professional installation ensures the thermostat communicates properly with:
- Google Home
- Wi-Fi networks
- Mobile applications
- Smart home devices
- Voice assistants
Energy Savings
A properly configured Nest thermostat can help optimize heating and cooling schedules to reduce energy waste.
Benefits of Installing a Nest Thermostat
Enhanced Energy Efficiency
Nest thermostats automatically adjust temperatures based on usage patterns, helping homeowners reduce energy consumption without sacrificing comfort.
Remote Temperature Control
Users can manage their thermostat from anywhere using the Google Home app.
Smart Learning Technology
The thermostat learns your schedule and gradually automates temperature adjustments throughout the day.
Detailed Energy Reports
Nest thermostats provide valuable insights into heating and cooling usage, helping identify opportunities for additional savings.
Improved Home Comfort
Smart temperature management helps maintain more consistent indoor conditions.
Smart Home Integration
Nest thermostats work with modern smart home ecosystems and connected devices.
Step-by-Step Nest Thermostat Installation Guide
Step 1: Check HVAC Compatibility
Before installing a Nest thermostat, verify that your heating and cooling system is compatible.
Compatible systems commonly include:
- Central air conditioning systems
- Gas furnaces
- Electric furnaces
- Heat pumps
- Boilers
- Multi-stage HVAC systems
Compatibility should always be confirmed before installation begins.
Step 2: Turn Off Power
Safety should always come first.
Turn off power to the HVAC system at the circuit breaker before removing the existing thermostat.
This prevents electrical issues and protects sensitive HVAC components.
Step 3: Remove the Existing Thermostat
Carefully remove the thermostat cover and inspect the wiring.
Before disconnecting any wires:
- Take clear photos
- Label each wire
- Note terminal locations
- Verify wire colors
Proper documentation helps avoid wiring mistakes later.
Step 4: Inspect Thermostat Wiring
Thermostat wiring configurations vary between homes.
Common wire terminals include:
- R (Power)
- Rc (Cooling Power)
- Rh (Heating Power)
- W (Heat)
- Y (Cooling)
- G (Fan)
- C (Common Wire)
Inspect the wiring carefully before proceeding.
Step 5: Install the Nest Base Plate
Position the Nest mounting plate on the wall and secure it using the provided screws.
Make sure the plate is:
- Level
- Secure
- Properly aligned
- Mounted on a stable surface
A properly mounted base helps ensure accurate operation.
Step 6: Connect Thermostat Wires
Insert each labeled wire into its corresponding Nest terminal.
Double-check:
- Wire placement
- Terminal engagement
- Secure connections
- Wire condition
Incorrect wiring is one of the most common installation problems.
Step 7: Attach the Nest Display
After connecting all wires, attach the Nest display to the base.
The thermostat should power on automatically if wiring is correct.
Step 8: Configure Initial Settings
Follow the on-screen instructions to configure:
- Language preferences
- Wi-Fi connection
- Location settings
- HVAC system type
- Temperature preferences
This setup process allows the thermostat to optimize performance.
Step 9: Connect to Google Home
Download the Google Home app and connect the thermostat.
Benefits include:
- Remote access
- Scheduling
- Energy monitoring
- Voice control
- Smart home automation
Step 10: Test System Performance
Test every operating mode:
Heating Mode
Verify the heating system activates correctly.
Cooling Mode
Confirm air conditioning responds properly.
Fan Operation
Ensure fan controls function as expected.
Schedule Testing
Check automated temperature adjustments.
A complete test helps identify any issues before regular use begins.
Tools Required
A successful Nest thermostat installation may require:
- Phillips screwdriver
- Flat-head screwdriver
- Drill
- Wall anchors
- Level
- Wire labels
- Voltage tester
- Smartphone
- Google Home app
- Electrical tape
Professional installers may also use advanced HVAC diagnostic tools during installation.
Common Mistakes During Nest Thermostat Installation
Incorrect Wire Identification
Thermostat wiring is often misunderstood, especially in older homes.
Misidentified wires can cause:
- Heating failures
- Cooling failures
- Fan issues
- Thermostat power problems
Ignoring HVAC Compatibility
Not all HVAC systems support every Nest thermostat model.
Compatibility should always be verified before purchase and installation.
Failing to Turn Off Power
Working with energized wiring increases the risk of:
- Electrical damage
- Equipment failure
- Personal injury
Improper Thermostat Placement
Avoid installing a thermostat near:
- Windows
- Air vents
- Direct sunlight
- Kitchens
- Exterior doors
Poor placement can affect temperature accuracy.
Weak Wi-Fi Connection
Smart thermostat functionality depends heavily on a stable network connection.
Weak Wi-Fi may impact:
- Remote access
- Scheduling
- Software updates
- Smart home integration
Professional vs DIY Nest Thermostat Installation
| Professional Installation | DIY Installation |
|---|---|
| Expert wiring verification | Greater chance of wiring errors |
| HVAC compatibility review | User must verify compatibility |
| Full system testing | Limited testing |
| Smart home configuration | Manual setup |
| Faster installation | Can take longer |
| Lower risk of system issues | Higher troubleshooting risk |
| Professional support | Self-support |
While many homeowners can complete a DIY installation, professional installation offers greater confidence and reliability.
When Should You Hire a Professional?
Professional installation is recommended when:
- You have a heat pump system.
- Your HVAC system uses multiple stages.
- Wiring labels are unclear.
- You need a C wire installation.
- Your thermostat fails to power on.
- You want complete smart home integration.
- You prefer expert setup and testing.
A professional can quickly identify compatibility issues and ensure everything operates correctly.
Frequently Asked Questions
How long does Nest thermostat installation take?
Most installations take between 30 minutes and 2 hours depending on system complexity.
Do all Nest thermostats require a C wire?
Not always. Some systems work without a C wire, while others require one or a Nest Power Connector.
Can I install a Nest thermostat myself?
Many homeowners successfully install Nest thermostats themselves. However, complex HVAC systems may require professional assistance.
Does Nest work with heat pumps?
Yes. Many Nest thermostat models support heat pump systems when properly configured.
Why is my Nest thermostat not turning on?
Common causes include incorrect wiring, insufficient power, HVAC compatibility issues, or missing common wire connections.
Can Nest help reduce energy bills?
Yes. Nest thermostats use smart scheduling and occupancy detection to reduce unnecessary heating and cooling usage.
Conclusion
Nest thermostat installation is a valuable upgrade for homeowners seeking better comfort, improved energy efficiency, and enhanced smart home functionality. While the installation process may appear straightforward, proper wiring, compatibility checks, and system configuration are critical for optimal performance.
Whether you choose a DIY installation or professional service, ensuring the thermostat is installed correctly helps maximize energy savings and extend HVAC system reliability.
A properly configured Nest thermostat can deliver years of intelligent climate control while helping create a more comfortable and efficient home.